How to Skin Small Game Animals Keeping both Fur and Meat

By Blake Alma
Editor’s Note: Blake Alma, who is the author of this article, is now the Editor-in-Chief here at Survivalist Daily. Blake Alma is an award-winning outdoor writer, a published author, an international radio show host, and is the founder of The Art of an Outdoorsman. You can see some of Blake’s work at blakealma.com.
I just love the pursuit of game animal trapping! I will trap anything from a small chipmunk to a huge coyote. I trap with all types of trap like a foothold trap or even a live cage trap. My favorite outdoor pursuit is survival trapping! I absolutely love to trap. I also love to hunt. Whatever method of game harvesting you choose, you gotta know how to skin the game. When I skin my small game, I always keep the fur and meat. I can sell the fur and eat the meat. I would recommend every outdoorsman to salvage as much as you can from all game animal. I even keep the head sometimes and let it rot so that I can have its skull!
In this article on Survivalist Daily, I will show you how to properly skin small game keeping both the fur and meat. I will be using an opossum in this example, all small game mammals can be skinned the same way.
You will need:
- A sharp knife (a skinning knife)
- 2 ½ feet of paracord
- 3 nails or screws
- A tree
- Gloves
Steps:
1. You will need to first find a tree to hang your small game animal from so that you can skin it. Take your nails or screws and get them in the tree about 8 inches about from one another.
2. Take your small game animal and tie the paracord around both of its legs tightly. The paracord is what the animal will be hanging from in this skinning process.
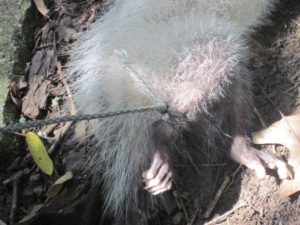
3. Take your animal by the paracord tied to its feet and hang it on the three nails/screws. The feet of the animal should be far apart from each other like the image below.

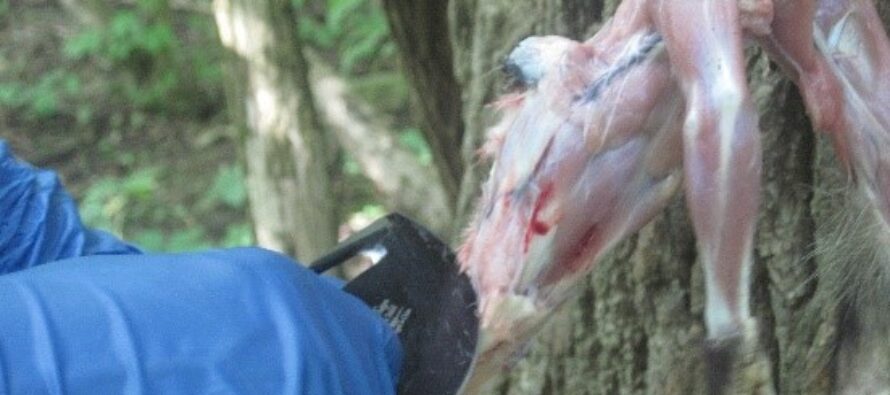
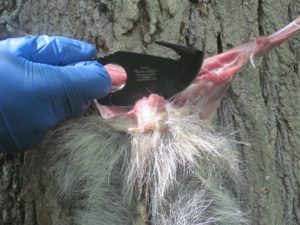
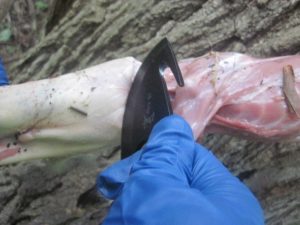
4. Using your knife, make a circular cut around both of the animal’s ankles.
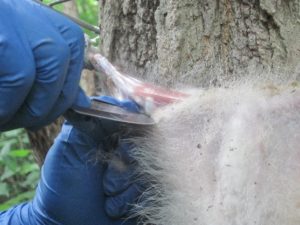
5. Starting at the cut around the animal’s ankle, make a cut all the way down to the anus and back up to the ankle.
6. After making that cut, begin using your knife to slowly start separating the hide from the carcass.

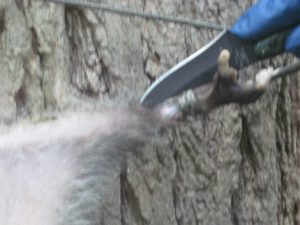
7. As you begin cutting downward, you will come down to the animal’s tail. I typically just cut the tail right off, but you can use your hand or pliers to pull the tail bone out.
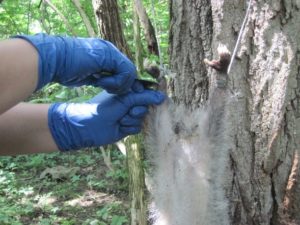
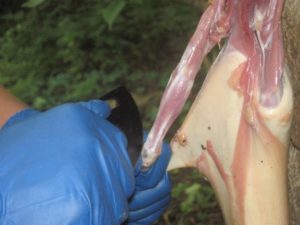
8. Once you pass the tail, you can typically just pull down the hide to separate from the carcass. If that doesn’t work for you, continue cutting downward with your knife, until you reach the animals arms.
9. Once you reach the animal’s arms, you will need to use your hand to pull out the arm from the hide, this will take some strength. Again, if you cannot pull the arm out, you will need to use your knife separate the hide. Do this to both arms.

10. Once you reach the animal’s paw (hand), you will need to just cut the paw off.
11. Continue cutting downward toward the head. You will cut pass the ears and eyes.
12. You will come to the mouth of the animal and you will then come to a finish!

You will then have your carcass for meat and have the hide for fur. You can dry your hide out by using non-iodide salt.
Skinning a Squirrel with Blake Alma:
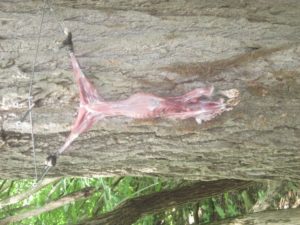
The carcass
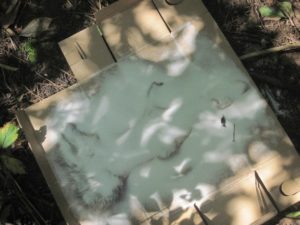
Salting the Hide
Visit: EZ Battery Reconditioning To Learn More here: http://www.survivalistdaily.com/ezbatteryreconditioning
By Blake Alma
Write a comment
No Comments
View comments


Let me tell You a sad story ! There are no comments yet, but You can be first one to comment this article.
Write a comment