DIY: How To Build A Composting Toilet For Under $4

By admin
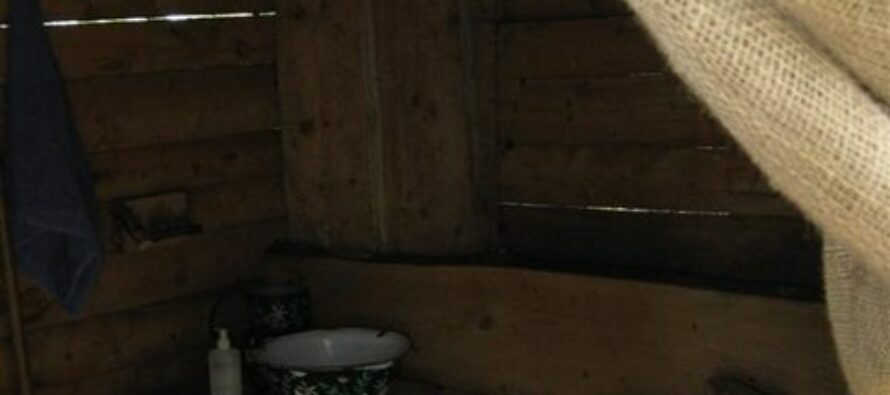

A composting toilet is a good idea for rural or remote areas where indoor plumbing isn’t available. Outhouses are common, but can be cold, smelly, uncomfortable, and can contaminate ground water.
A compost toilet doesn’t have these problems, can be stored indoors, and are cheaper and easier to make, to boot.
This toilet will sit about 1 foot off of the floor, plus the height of whatever legs you choose to add to it.
What You’ll Need to Build a Composting Toilet:
Equipment:
1) 2 wooden boards, 11”x 18” and between .5-1” thick
2) 2 wooden boards, 11”x 21” and between .5-1” thick
3) 2 wooden boards, 18” x 21” and between .5-1” thick
4) 4 legs (optional)
5) A few identical buckets, between 11” and 12” deep, with handles.
6) 2 hinges
7) A regular toilet seat
Tools:
1) A drill
2) An electric saw (regular saws can be used if you’re comfortable cutting a circle with it. Most people don’t have enough experience to do this cleanly).
3) A screw driver
4) 14 screws + however many screws you need for the hinges and toilet seat (this number will vary).
5) A pencil
6) A ruler
Assembling Your Composting Toilet:
1) Take the boards from #1 and #2. Drill holes in their sides and screw them together to form a box that is 18” wide and 21” long, 11” high and is open on its top and bottom.
2) Take one of your 18” x 21” boards (#3). Using the drill and screws, connect this board to the bottom of the box at each of the 4 corners.
3) Take one of your buckets (#5), and place it bottom up on the second 18” x 21” board (#3). Trace the outline of the opening of the bucket in the center of the board.
4) Using the saw, cut out the circle you traced on the board.
5) On the same board, locate one of the sides that is 18” in width. Measure one inch in, and trace a line that is parallel to the 18” side, one inch deep.
6) Cut along the line you just traced. You will now have two pieces- the 20” x 18” piece with the hole cut in the center, and an 18” x 1” piece.
7) Using drills and screws reconnect the two pieces you just separated with your hinges, so that they can open and close.
8) Place the part you just made (The two wooden pieces connected with hinges) on top of the box, hinges up. This will be the top of the toilet. Connect the short end of the top part (the 18” x 1” part) to the box, using the drill and screws. The large part (the 20” by 18” part with the hole cut in it) should be able to be opened upwards.
9) If you choose to have legs on your toilet, screw them to the bottom of the box, at each of the four corners.
10) Place a bucket in the box, top up. It should fit into the hole you cut in the top part, which will keep the bucket in place so it won’t move around.
11) Connect the toilet seat to the top of the toilet, so that it covers the hole. It should fit snugly, so that there is no extra space between the toilet seat and the top of the bucket.
You now have a functioning compost toilet!
Using Your DIY Composting Toilet:
1) Fill a bucket about halfway with sawdust. The sawdust will help seal the waste in and absorb odors.
2) Put the bucket in the box. Close the top so that the bucket is held in place in the hole.
3) Use the toilet as needed ![]()
4) When the bucket is near full, take the bucket out and put the contents into your compost heap.
5) Fill another bucket with sawdust and repeat the process.
This article was originally published by Survival Joe at Prepared For That
Visit: EZ Battery Reconditioning To Learn More here: http://www.survivalistdaily.com/ezbatteryreconditioning
By admin
Write a comment
2 Comments
View comments


Wood ash works very well too, and the carbon in the ash helps a lot with the odor.
Yeah it’s mentioned in the article at the end 🙂